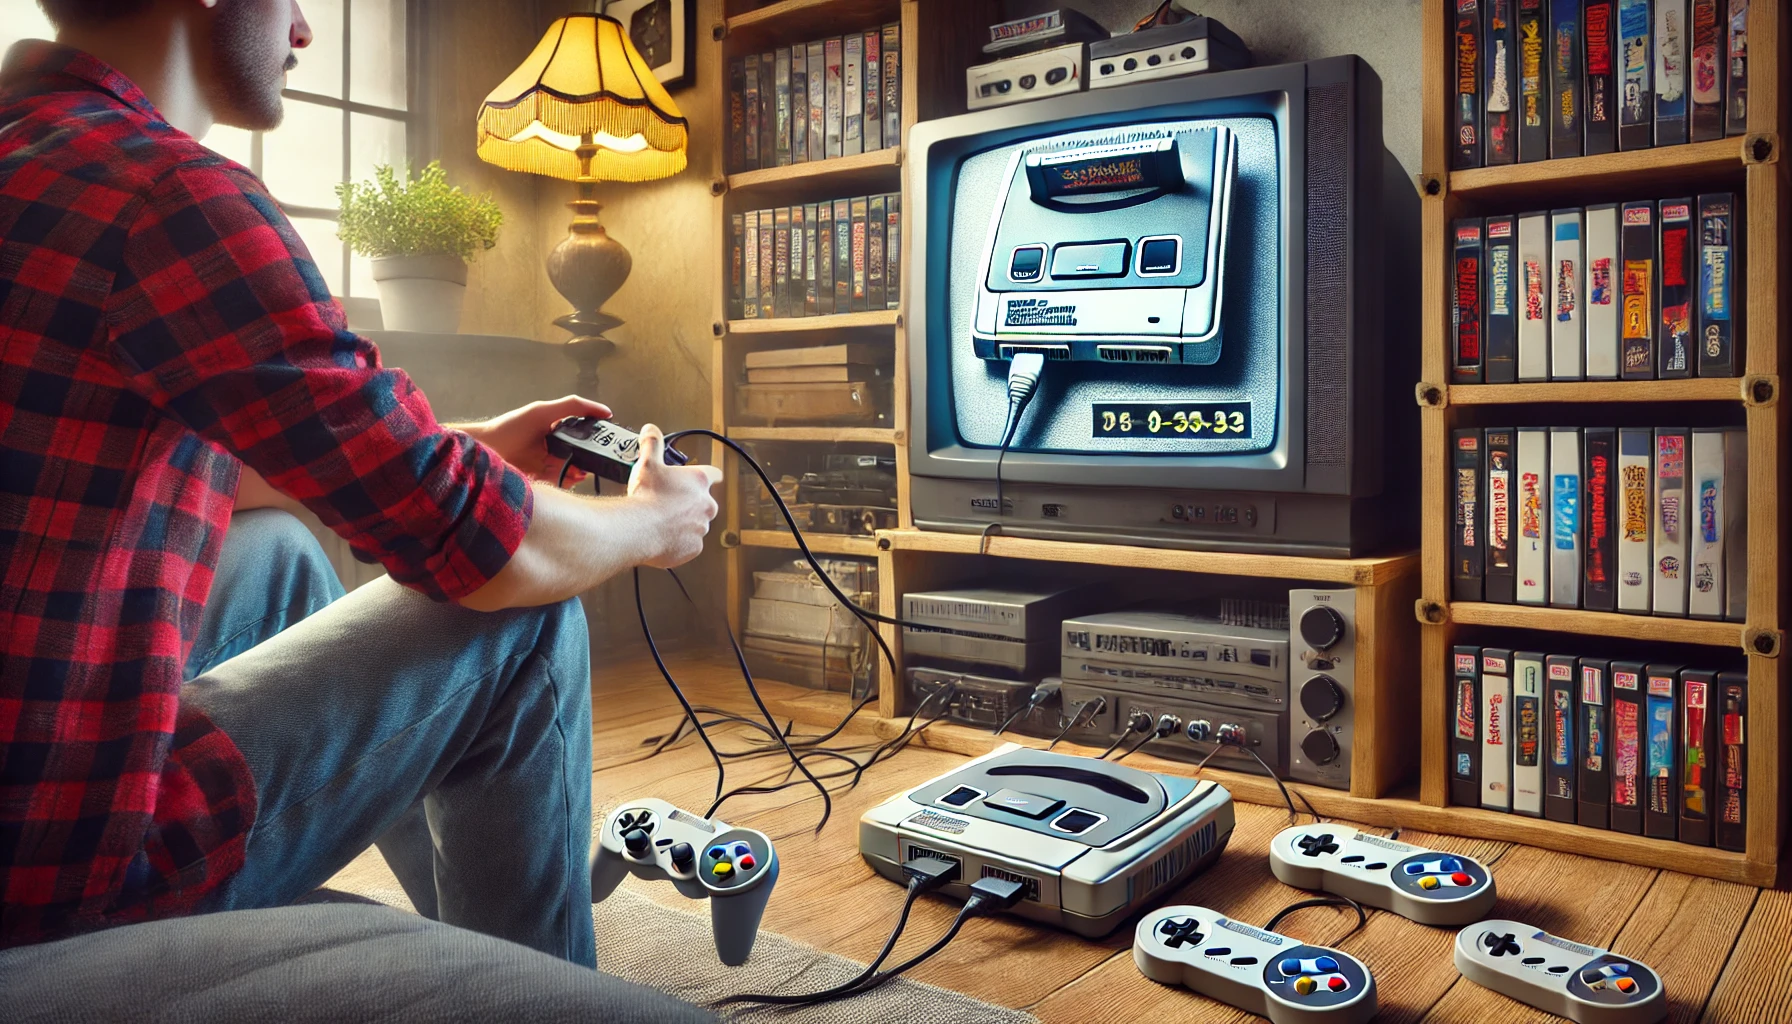
Retro gaming feels completely different on a CRT TV. While modern TVs offer sharp, high-resolution images, they introduce input lag, scaling issues, and incorrect aspect ratios when playing classic games. CRTs, on the other hand, display retro games exactly as they were meant to be seen, with smooth scanlines, rich colors, and zero lag.
If you’re lucky enough to own a working CRT, you’re already ahead of most retro gamers. But setting up a CRT properly makes a huge difference in image quality, input responsiveness, and overall enjoyment. Whether you’re using a Super Nintendo, Sega Genesis, PlayStation 2, or even an arcade setup, this guide will show you how to get the best possible gaming experience on a CRT TV.
Why Use a CRT for Retro Gaming?
Modern flat-screen TVs weren’t designed for older consoles, which output analog signals (RF, composite, S-Video, component, and RGB). When you connect a Super Nintendo or PlayStation 1 to an HDTV, the image looks blurry and stretched, and input lag can make fast-paced games feel sluggish.
CRTs don’t have these issues because:
✅ They display perfect pixel alignment for 240p and 480i games.
✅ They have zero input lag, making platformers and fighters feel more responsive.
✅ Scanlines and color blending improve pixel art and sprites.
✅ No need for external scalers or adapters—original hardware connects directly.
Now that we understand why CRTs are superior for retro gaming, let’s go through a step-by-step guide to setting one up.
Step 1: Choose the Right CRT TV for Gaming
Not all CRTs are the same. Some offer better picture quality and input options than others.
Best CRT Types for Retro Gaming
📺 Consumer CRT TVs (Best for Most Gamers) – Standard Trinitrons, JVCs, and Toshibas offer great picture quality with composite, S-Video, and component inputs.
📺 PVM & BVM Monitors (Best for Purists) – Professional Video Monitors (PVMs) and Broadcast Video Monitors (BVMs) from Sony, JVC, and Ikegami deliver the highest-quality RGB video, but they’re harder to find and expensive.
📺 Arcade CRT Monitors (For Authentic Arcade Feel) – If you’re building a custom arcade cabinet, an RGB-compatible CRT monitor is ideal.
💡 What to Avoid:
❌ Rear-Projection CRTs – Bulky, low image quality, and poor response times.
❌ Flat-Screen CRTs – Some late-era CRTs have built-in lag due to digital processing.
Step 2: Connect Your Console with the Best Video Cable
The type of cable you use makes a huge difference in picture quality. Many retro gamers grew up using composite (yellow RCA cables), but there are much better options.
🎮 Best Connection Types (Ranked from Best to Worst):
1️⃣ RGB (SCART or BNC) – Sharpest picture, best colors and clarity (Only works with PVMs/BVMs).
2️⃣ Component (Y/Pb/Pr) – Near-RGB quality, best for PS2, Xbox, and GameCube.
3️⃣ S-Video – Huge improvement over composite, ideal for N64, SNES, and Genesis.
4️⃣ Composite (Yellow RCA Cable) – Basic, lower quality, but still authentic for NES and SNES.
5️⃣ RF (Coaxial Cable) – Worst quality, only use if no other option.
Step 3: Adjust CRT Settings for the Best Picture
Once your console is connected, adjusting TV settings ensures the best image clarity and color balance.
🛠 CRT Settings to Adjust:
✔ Brightness – Avoid setting it too high (prevents washed-out colors).
✔ Contrast – Adjust for deep blacks without crushing details.
✔ Sharpness – Lower it slightly for smoother edges.
✔ Geometry Settings – Use the service menu (if available) to fix screen curvature.
How to Access the CRT Service Menu:
- Many CRT TVs have a hidden service menu that allows precise geometry and color adjustments.
- Search for your TV model online + “service menu code” to access it.
Step 4: Minimize Input Lag for a More Responsive Experience
One of the best things about CRTs is zero input lag, but some settings can still affect responsiveness.
🕹 How to Get the Best Input Response:
✅ Use Wired Controllers – Wireless adapters introduce lag.
✅ Disable Digital Processing (If Available) – Some late-model CRTs have built-in digital filters that slow response times.
✅ Avoid Using AV Receivers – Plug your console directly into the CRT for best performance.
Step 5: Enhance the CRT Gaming Experience
Once your CRT is set up, there are additional ways to improve the experience.
🎨 Use a Scanline Generator (For Flat CRTs or Emulation) – If your CRT lacks scanlines, a scanline generator like the SLG3000 can recreate the classic look.
🔌 Use a Power Conditioner (For Older CRTs) – Reduces flickering and extends the TV’s lifespan.
🖥 Consider Upscaling for Multi-System Setups – If you switch between CRT and HDTV gaming, a good scaler like the RetroTINK 5X or OSSC helps maintain quality across both.
🎛 Use an Audio Mixer for Stereo Sound – Many CRTs only output mono audio, but a cheap stereo-to-mono mixer allows true stereo sound from consoles like the SNES, Genesis, and PS1.
How to Maintain and Care for a CRT TV
CRTs are built to last, but proper care ensures they keep working for years.
✔ Keep it in a Cool, Dry Place – Avoid humidity and overheating.
✔ Clean Dust from Vents and Screen – Use a microfiber cloth and compressed air.
✔ Avoid Moving the TV Often – CRTs are fragile, and moving them can misalign the tube.
✔ Discharge Before Repairing – CRTs hold high voltage, even when unplugged. NEVER open one unless you know how to safely discharge it.
Final Thoughts: Bringing Retro Gaming Back to Life on a CRT
Setting up a CRT TV for retro gaming takes time, but the results are worth it. With the right TV, proper video cables, screen adjustments, and input optimizations, you can experience retro games as they were originally intended. Whether you’re playing classic 8-bit platformers, 16-bit RPGs, or early 3D games, a CRT delivers the best visuals, responsiveness, and authenticity possible.
Do you still use a CRT for gaming? What’s your favorite console to play on a tube TV? Drop a comment below and share your CRT setup!