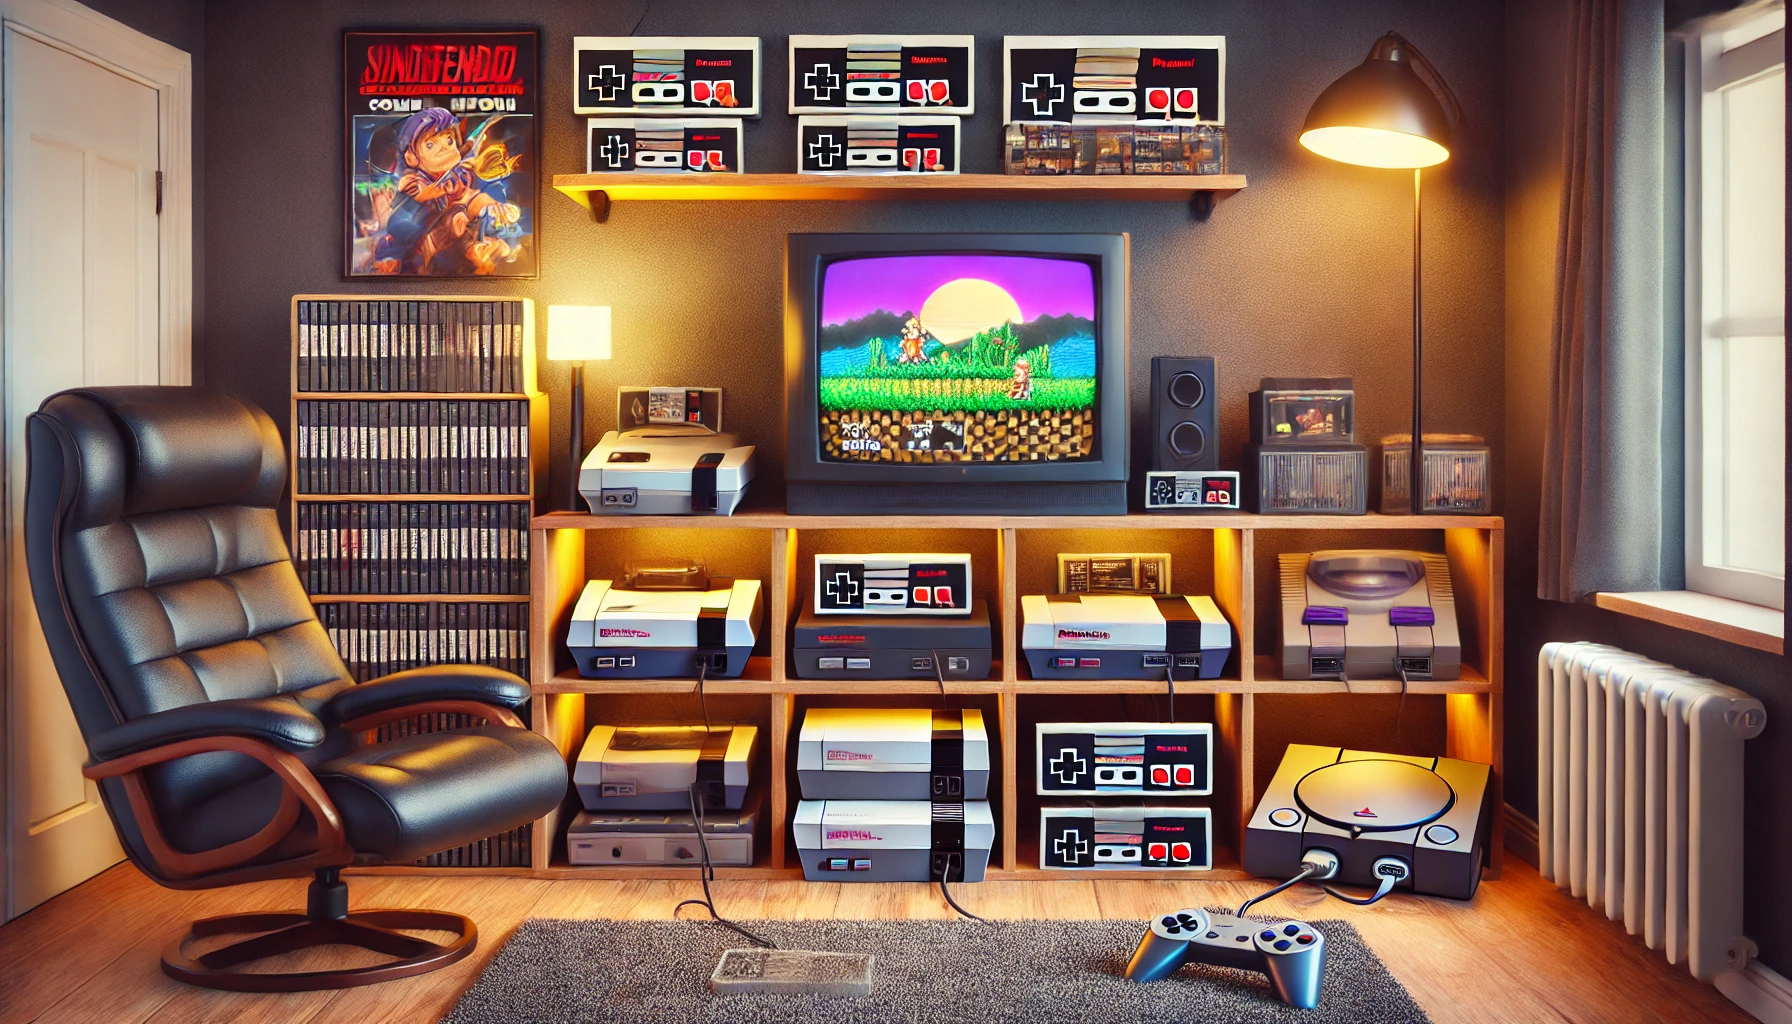
Creating the perfect retro gaming setup is every classic gaming fan’s dream. Whether you grew up playing NES, SNES, Sega Genesis, PlayStation 1, or arcade machines, having a dedicated space to relive those moments can bring a unique sense of nostalgia and comfort. However, building the ideal setup requires careful planning, especially when considering hardware, displays, controllers, storage, and budget.
Some gamers want a budget-friendly setup with original consoles, while others prefer modern solutions like emulation or FPGA-based systems. Regardless of your budget, there’s a way to create a functional and stylish retro gaming space. This guide covers everything you need to know, including essential hardware, display options, controller choices, and setup organization.
1. Choosing the Right Hardware: Original Consoles vs. Modern Alternatives
The first decision to make is whether to use original hardware or modern alternatives. Both options have pros and cons.
Option 1: Using Original Consoles
For those who want the most authentic retro experience, using original consoles is the best option. Playing on real hardware preserves the feel of the original games, including their quirks and limitations.
Pros
✅ The most authentic way to play retro games
✅ Physical cartridges and discs provide a tactile experience
✅ No need for software emulation, ensuring accuracy
Cons
❌ Older hardware can be unreliable and may need repairs
❌ Requires multiple consoles to play games from different generations
❌ Original games can be expensive and difficult to find
Best Consoles to Collect
- NES & SNES – Iconic Nintendo classics with large libraries
- Sega Genesis – Great for platformers and arcade-style games
- PlayStation 1 & 2 – Massive RPG and action game libraries
- Nintendo 64 – Best for local multiplayer games like Mario Kart 64 and GoldenEye 007
Option 2: Using Modern Emulation or FPGA Consoles
For those who don’t want to deal with aging hardware, modern solutions like FPGA consoles, mini consoles, or emulation are excellent alternatives.
Pros
✅ More affordable than collecting original cartridges and discs
✅ Easy access to thousands of retro games through ROMs
✅ Modern video outputs (HDMI) make them compatible with modern TVs
Cons
❌ Not 100% authentic compared to playing on original hardware
❌ Some emulators introduce slight input lag
❌ Requires setting up ROMs legally
Best Modern Alternatives
- Analogue Pocket – Plays original Game Boy, GBC, and GBA cartridges with a modern screen
- Mister FPGA – The most accurate emulation solution, recreating original console hardware
- RetroTINK & OSSC – Great upscalers for playing original consoles on modern TVs
- Mini Consoles (SNES Classic, Sega Genesis Mini, PlayStation Classic with mods) – Compact plug-and-play solutions for casual retro gaming
2. Choosing the Best Display: CRT vs. Modern TVs
One of the biggest challenges in a retro gaming setup is choosing the right display. Older games were designed for CRT TVs, so playing them on modern screens can introduce lag and blurry visuals.
Option 1: Using a CRT TV (Best for Authenticity)
CRT TVs were the gold standard for gaming until the early 2000s. They provide zero input lag, vibrant colors, and the best experience for light gun games like Duck Hunt or Time Crisis.
Pros
✅ Perfect for retro games with no lag
✅ Supports light gun games
✅ Can be found for free or very cheap
Cons
❌ Large and heavy, requiring lots of space
❌ Limited to 480p resolution, not ideal for newer games
Option 2: Using a Modern TV with Upscalers (Best for Convenience)
If you don’t have space for a CRT, modern upscalers allow you to play retro games on HDTVs without lag or distortion. Devices like the RetroTINK 5X and OSSC convert old signals into high-quality HDMI output, making retro games look better on large screens.
Pros
✅ Works with multiple consoles on one TV
✅ Saves space compared to a CRT
✅ HDMI mods on consoles can provide excellent results
Cons
❌ Some upscalers are expensive ($150-$300)
❌ Light gun games do not work on modern TVs
3. Selecting the Right Controllers: Original vs. Wireless Alternatives
A great gaming setup needs comfortable controllers. You can stick with original wired controllers or use modern wireless solutions for a clutter-free experience.
Option 1: Original Controllers
The best way to experience classic games is to use the original controllers made for each console. These controllers provide the exact feel and button response that developers intended.
Pros
✅ Authentic controls as the developers intended
✅ No input lag
Cons
❌ Short cables can be inconvenient
❌ Some controllers (like N64) wear out over time
Option 2: Modern Wireless Controllers
For those who want wireless convenience, many companies make modern Bluetooth versions of classic controllers.
Best Wireless Retro Controllers
- 8BitDo Controllers – Wireless alternatives for NES, SNES, Sega Genesis, and PlayStation
- Raphnet Adapters – Allows original controllers to work on modern systems via USB
- BlueRetro Mod – Converts retro consoles to work with Bluetooth controllers
4. Organizing Game Storage and Displaying Your Collection
A well-organized gaming setup looks great and makes it easy to access your collection.
Game Shelving and Storage Ideas
- Media Shelves – IKEA Kallax shelves work great for cartridge and disc storage
- Wall-Mounted Displays – Great for showcasing rare or valuable games
- Plastic Bins with Labels – Helps keep loose cartridges organized
Avoiding Damage to Your Collection
- Use protective cases for rare cartridges
- Keep games away from direct sunlight to prevent label fading
- Store discs upright to avoid scratching
5. Budgeting: How to Build a Setup Without Overspending
Not everyone has an unlimited budget for retro gaming, so it’s important to prioritize spending wisely.
Budget-Friendly Setup ($100-$300)
- Raspberry Pi or Mini Console for emulation ($50-$100)
- Used CRT TV (often free or under $50)
- USB Controllers ($20 each)
Mid-Range Setup ($400-$800)
- RetroTINK 5X for HDMI conversion ($300)
- EverDrive Flashcarts for loading ROMs on original consoles ($150 each)
- Game shelves and display cases ($50-$100)
High-End Setup ($1,000+)
- Mister FPGA or Analogue consoles ($500+)
- Multiple original consoles with HDMI mods
- Premium shelving, LED lighting, and a dedicated gaming room
Final Thoughts: Creating a Retro Gaming Setup That Fits Your Style
Building the ultimate retro gaming setup is all about finding the balance between authenticity, convenience, and budget. Whether you go for original consoles, modern emulation, or a hybrid approach, the goal is to enjoy classic games the way you love best.
Do you have a dedicated retro gaming setup? What’s your favorite piece of hardware in your collection? Drop a comment below and share your setup ideas!