The PlayStation 2 is one of the best-selling consoles of all time, but many gamers don’t realize that it can run games directly from a hard drive. Installing a hard drive in a PS2 reduces load times, extends the life of the disc drive, and allows for smoother gameplay, especially in games with frequent loading screens. If you have a fat model PS2 (SCPH-30000 to SCPH-50000), you can install an internal HDD using the official Network Adapter. If you have a slim PS2, you’ll need to use an external USB drive, which is an alternative but slightly slower method.
In this guide, I’ll walk you through how to install a hard drive in a PlayStation 2 step by step and configure it to run games using Open PS2 Loader (OPL). This is the best way to improve game performance, eliminate disc wear, and unlock new features on your modded PS2.
Why Install a Hard Drive in a PS2?
Faster Load Times – Games load up to 3x faster from an HDD compared to the disc drive.
Protect Your Discs – No need to swap discs, preventing scratches and wear.
Better Performance – Some games, like Gran Turismo 4, benefit from smoother gameplay and faster texture loading.
More Storage – Instead of dealing with multiple discs, you can store hundreds of games on one drive.
Play Games That Require HDD Support – Some PS2 games (like Final Fantasy XI) were designed to run from a hard drive.
What You Need to Install a Hard Drive in a PS2
Before starting, make sure you have the following items:
For Fat PS2 (Best Method, Internal HDD)
PlayStation 2 Fat (SCPH-30000 to SCPH-50000 models)
Official PS2 Network Adapter (or a third-party SATA adapter)
SATA or IDE Hard Drive (500GB+ recommended, IDE drives are harder to find now)
8MB Memory Card with FreeMcBoot installed
Open PS2 Loader (OPL) software
WinHIIP or HDL Dump (to transfer games to the HDD)
For Slim PS2 (Alternative Method, External HDD)
Any PlayStation 2 Slim model
External USB Hard Drive (formatted to FAT32)
8MB Memory Card with FreeMcBoot
Open PS2 Loader (OPL) software
USBUtil or USBExtreme (to convert games for USB loading)
If you’re using a Fat PS2, an internal HDD is the best option, as USB loading is slower due to the PS2’s USB 1.1 speed limits.
Step-by-Step Guide to Installing a Hard Drive in a Fat PS2
Step 1: Prepare the Hard Drive
- Choose Your Hard Drive Type – The PS2 originally used IDE hard drives, but since IDE drives are rare today, most people use a SATA drive with a modified Network Adapter.
- Format the HDD for PS2 Use – Connect the hard drive to your PC using a SATA-to-USB adapter or an external dock.
- Use WinHIIP or HDL Dump to format the drive in HDLoader format (APA partitioning).
- Transfer PS2 Games to the HDD – You can use HDL Dump or WinHIIP to copy game ISOs to the drive.
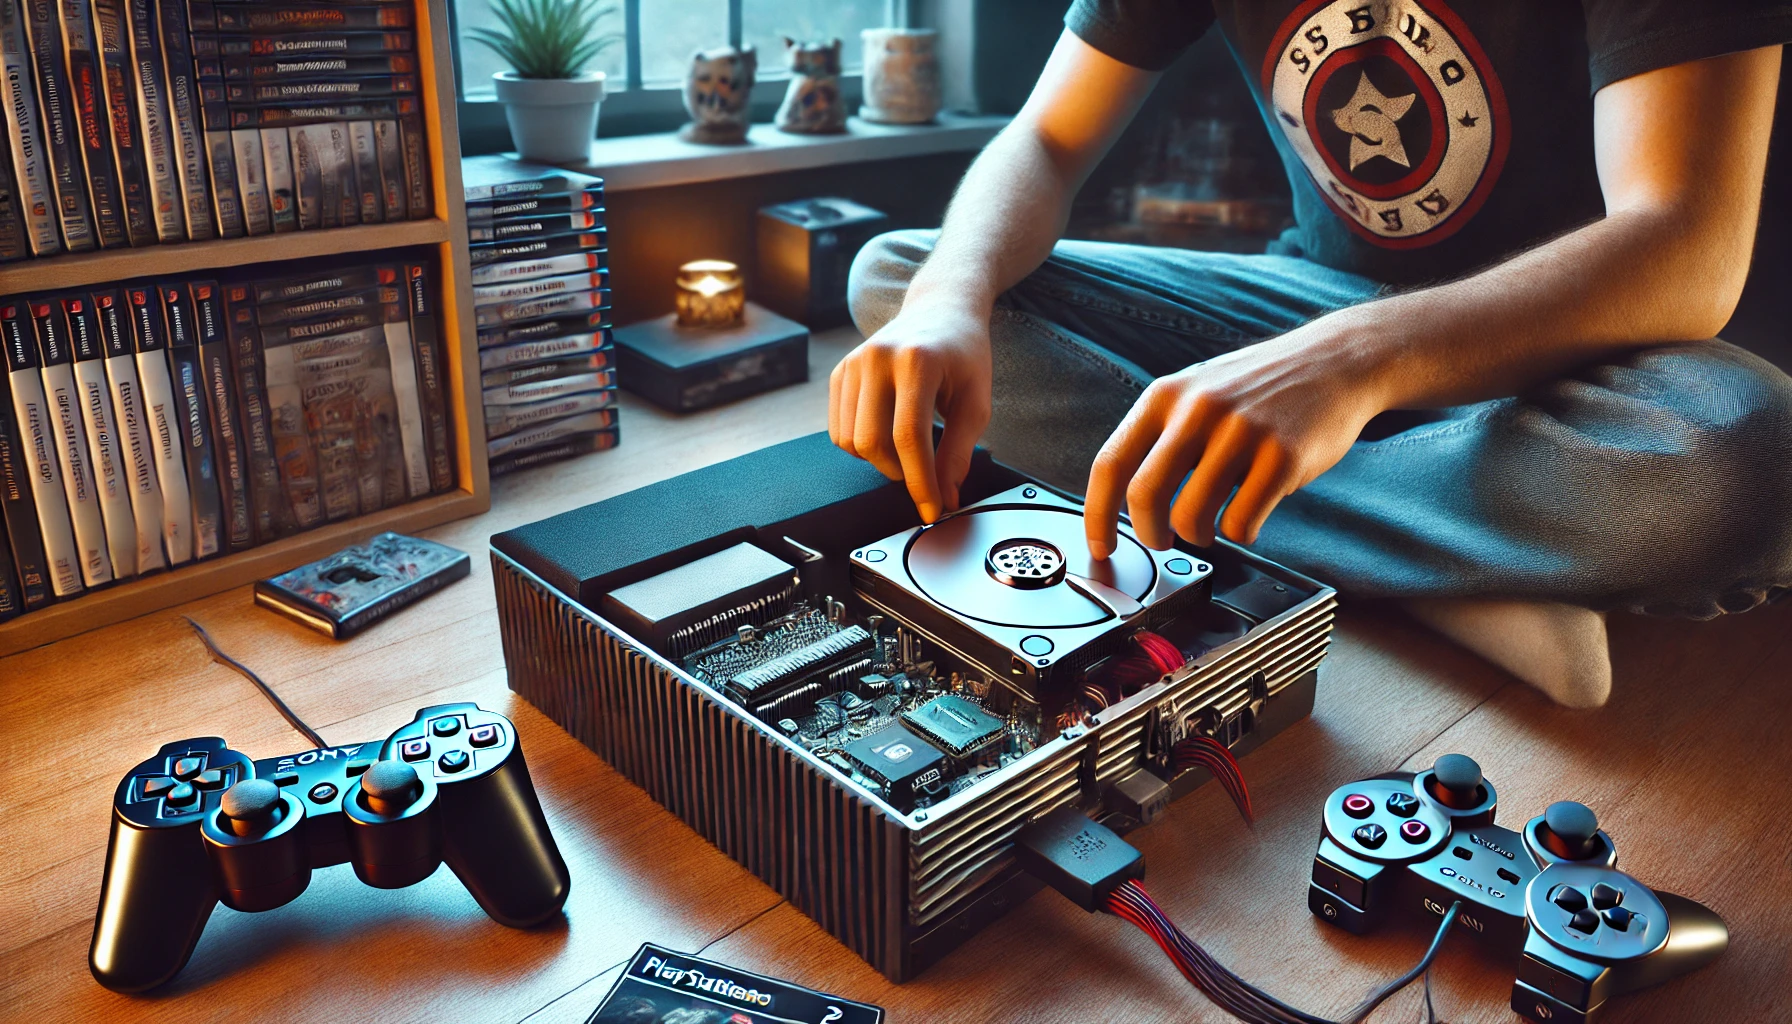
Step 2: Install the HDD in the PS2
- Turn off and unplug the PS2.
- Remove the network adapter cover on the back of the console.
- Attach the hard drive to the Network Adapter by connecting it securely to the IDE or SATA port.
- Slide the HDD and Network Adapter into the PS2 and screw it into place.
Step 3: Configure Open PS2 Loader (OPL)
- Insert your FreeMcBoot memory card and turn on the PS2.
- Go to the FreeMcBoot menu and launch OPL.
- Navigate to “HDD Games” and scan for games.
- Select a game and press X to launch it!
Step-by-Step Guide to Using an External Hard Drive on a Slim PS2
If you have a PS2 Slim, you won’t be able to install an internal HDD, but you can use a USB hard drive instead.
Step 1: Format the USB Hard Drive
- Connect the USB drive to your PC.
- Format it to FAT32 using a tool like GUIFormat.
- Use USBUtil or USBExtreme to convert PS2 games into the correct format for USB loading.
Step 2: Transfer Games to the USB Drive
- Open USBUtil and select “Create Game From ISO.”
- Choose the PS2 game ISO and set the destination as your USB drive.
- Wait for the transfer to complete.
Step 3: Configure OPL to Load Games from USB
- Insert the USB drive into one of the PS2’s USB ports.
- Insert the FreeMcBoot memory card and power on the console.
- Launch Open PS2 Loader (OPL) from the FreeMcBoot menu.
- Go to Settings > USB Games, enable the USB mode, and save the settings.
- Navigate to USB Games, select a game, and press X to play.
Best PS2 Games That Run Better from a Hard Drive
Certain PS2 games perform much better when played from an HDD rather than a disc. Here are some great examples:
- Gran Turismo 4 – Faster loading times and better performance.
- Shadow of the Colossus – Improves frame rate issues from the original disc version.
- God of War 1 & 2 – Smoother cutscenes and gameplay.
- Resident Evil 4 – Eliminates disc streaming lag.
- Metal Gear Solid 3: Subsistence – Reduces long load times.
- Burnout 3: Takedown – Nearly instant loading screens.
Frequently Asked Questions
1. Do I need a modchip to install a hard drive?
No! FreeMcBoot and Open PS2 Loader allow you to use a hard drive without a modchip.
2. Can I install games directly from the PS2 instead of a PC?
Yes, OPL has a feature that allows ripping discs directly to the HDD, but using a PC is faster.
3. Does this work on all PS2 models?
Internal HDD installation only works on Fat PS2 models. Slim models must use a USB drive instead.
4. Will this damage my PS2?
No, as long as you properly install the HDD and don’t force connections, your PS2 will be fine.
5. Can I play PS1 games from the hard drive?
PS1 games require a different method (like POPSloader) and don’t work natively with OPL.
Final Thoughts: Is Installing a Hard Drive in a PS2 Worth It?
Absolutely! If you have a fat PS2, installing an HDD is one of the best ways to improve performance and extend the console’s life. Even if you own a PS2 Slim, using a USB drive is still a great alternative.
Have you installed a hard drive in your PS2? Did it make a big difference in how you play? Drop a comment below and share your experience!