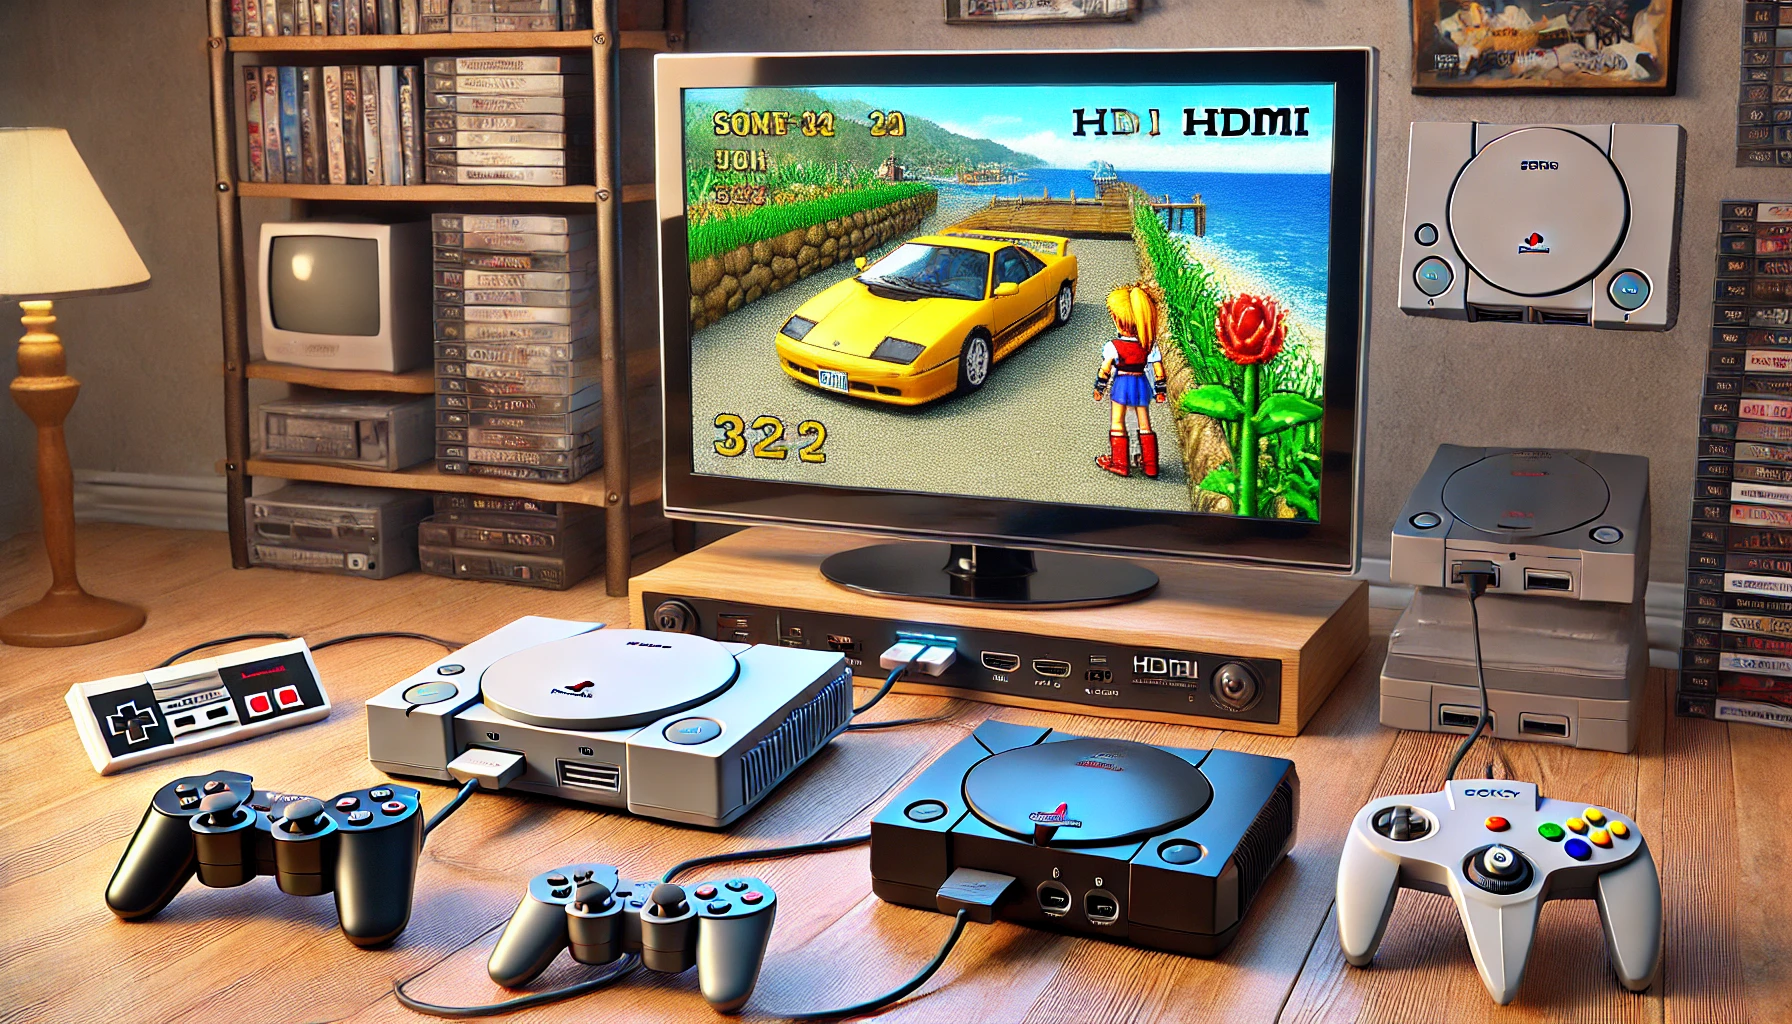
Many classic gaming consoles were designed for CRT televisions, using composite, RF, or SCART outputs. While these worked well in their time, modern HDTVs often struggle to display these signals correctly, leading to blurry images, washed-out colors, or even complete incompatibility. To bring retro gaming into the modern age, many enthusiasts are modifying their consoles to include HDMI output, allowing for better picture quality, reduced input lag, and compatibility with modern screens.
Adding HDMI to a retro console can be done in several ways, from simple plug-and-play adapters to full internal HDMI mods. The method you choose depends on the console, your budget, and how much you’re willing to modify the hardware. Some consoles, like the Nintendo 64, require internal mods, while others, like the PlayStation 2, can use external solutions.
Why Add HDMI to a Retro Console?
The biggest reason to upgrade a classic console with HDMI is video quality. Analog video signals, like composite and RF, degrade over long cable runs and do not scale well on modern TVs. HDMI provides a clearer picture, sharper colors, and a more stable signal, making retro games look better than ever.
Another major reason is input lag reduction. Many modern TVs introduce lag when converting analog signals to digital, which can negatively affect gameplay, especially in fast-paced games. With a direct HDMI connection, you can minimize lag and enjoy a more responsive gaming experience.
Lastly, adding HDMI future-proofs your console. As CRTs become rarer, having an HDMI option ensures that your retro console remains playable on new displays for years to come.
Methods to Add HDMI to a Retro Console
1. Plug-and-Play HDMI Adapters
For some consoles, the easiest way to get HDMI output is through external adapters. These devices take the analog video signal and convert it into a digital format without requiring internal modifications.
- RetroTINK 2X/5X – Works with multiple consoles and provides high-quality upscaling.
- Pound HDMI Cables – Affordable plug-and-play HDMI solutions for PlayStation 2, Dreamcast, and Xbox.
- Rad2X Cables – Low-latency HDMI cables designed specifically for classic consoles like the SNES and Genesis.
These solutions are great for beginners, as they do not require opening the console or making permanent modifications. However, they depend on the quality of the console’s original analog output, so results may vary.
2. Internal HDMI Mods
For the best possible video quality, some consoles can be modified internally to output a true digital HDMI signal. These mods often provide the cleanest image and additional features, such as scanline filters and integer scaling.
- UltraHDMI (Nintendo 64) – One of the best HDMI mods available, offering crystal-clear digital output.
- PS1Digital (PlayStation 1) – Adds native HDMI support with upscaling options.
- DC Digital (Dreamcast) – Replaces the console’s analog video output with a high-quality HDMI signal.
These mods require advanced soldering skills and console disassembly, making them more difficult for beginners. However, they offer the best results for serious retro gaming enthusiasts.
3. Upscalers and External Video Processors
If you want HDMI without modifying your console, an external upscaler can bridge the gap between classic and modern displays. These devices take the console’s original video signal and upscale it to HD resolutions.
- OSSC (Open Source Scan Converter) – A lag-free upscaler that converts analog signals to HDMI.
- Framemeister XRGB-Mini – One of the most powerful upscalers, though it is expensive.
- RetroTINK 5X – A high-quality solution with excellent deinterlacing for PS2 and other systems.
While these upscalers provide excellent results, they can be costly. However, they allow multiple retro consoles to be used with a single HDMI solution, making them ideal for collectors.
Which HDMI Solution Is Best for Your Console?
Choosing the best HDMI method depends on your console, budget, and technical skills.
- If you want a quick and easy solution, plug-and-play HDMI adapters are the best option.
- Or if you need the best possible video quality, internal HDMI mods offer superior performance.
- And if you own multiple retro consoles, an upscaler like the OSSC or RetroTINK is the most flexible solution.
For many gamers, a combination of these solutions works best. For example, you might use an internal HDMI mod on your Nintendo 64 for the best quality while using a RetroTINK to upscale your SNES and Genesis games.
Is It Worth Adding HDMI to a Retro Console?
For serious retro gaming enthusiasts, adding HDMI is a game-changer. It makes classic games look and play better, reduces input lag, and ensures compatibility with modern TVs. However, it’s important to choose the right method for your setup.
If you love retro gaming and want the best experience possible, investing in an HDMI upgrade is one of the best modifications you can make. Whether you choose a simple adapter or a full internal mod, the results will make a noticeable difference in how your favorite classic games look and feel.
Have you upgraded any of your retro consoles with HDMI? What method worked best for you? Share your experience in the comments below, and if you found this guide helpful, be sure to share it with other retro gaming fans!