The Raspberry Pi has revolutionized retrogaming by allowing enthusiasts to create custom emulation machines that can run thousands of classic games. But did you know you can install a Raspberry Pi inside an original console shell, giving it the perfect blend of nostalgia and modern performance?
In this guide, we’ll walk you through the process of installing a Raspberry Pi into a classic console, the benefits of this setup, and the best practices for creating the ultimate retrogaming system.
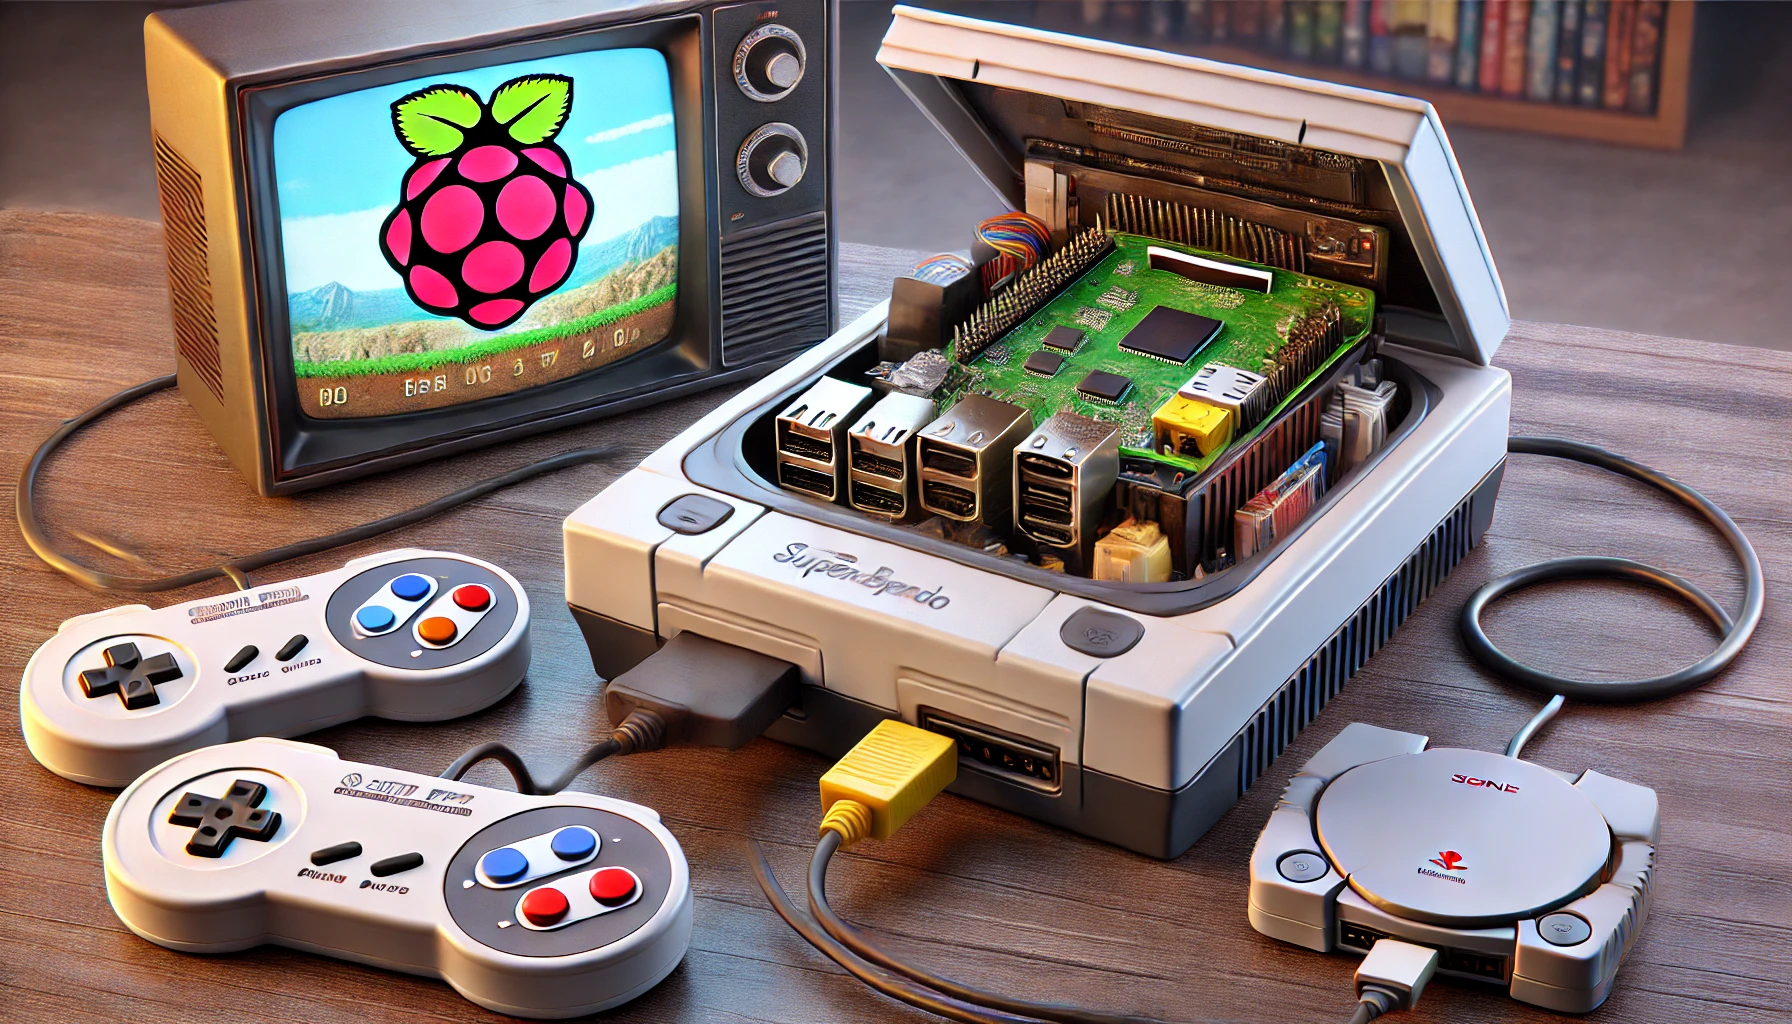
Why Install a Raspberry Pi in a Classic Console?
Modifying an original console to house a Raspberry Pi offers several advantages:
✔ Authentic Feel – You retain the original console’s look and feel while upgrading its capabilities.
✔ Massive Game Library – Emulate multiple systems, from NES and SNES to PlayStation and Dreamcast.
✔ Modern Features – HDMI output, wireless controllers, save states, and shaders.
✔ Space-Saving – Eliminates the need for multiple consoles while keeping a retro aesthetic.
By using a Raspberry Pi inside an old console shell, you get the best of both worlds: nostalgia with modern convenience.
What You’ll Need
1. Hardware Components
🔹 Raspberry Pi 4 or 3B+ – More power equals better emulation.
🔹 MicroSD Card (32GB or more) – Stores the operating system and games.
🔹 Classic Console Shell – Choose an old, non-working console (NES, SNES, PlayStation, etc.).
🔹 HDMI Cable – For connecting to a modern TV.
🔹 USB Controllers or Bluetooth Adapter – To use wireless controllers.
🔹 Cooling System (Heatsinks/Fan) – Prevents overheating during long play sessions.
🔹 Power Supply (5V, 3A for Raspberry Pi 4) – Ensures stable performance.
2. Software
💾 RetroPie or Batocera – Two of the most popular operating systems for emulation.
💾 Win32 Disk Imager or Raspberry Pi Imager – To install the OS onto the SD card.
💾 ROMs (Legally Sourced) – Games for your setup.
Step-by-Step Installation Guide
Step 1: Prepare the Console Shell
- Disassemble the Classic Console – Carefully remove internal components while keeping the case intact.
- Plan the Layout – Position the Raspberry Pi where the motherboard used to be.
- Make Necessary Modifications – Use a Dremel or cutter to adjust the inside of the case for ports.
Step 2: Install the Raspberry Pi
- Mount the Raspberry Pi Securely – Use screws or a 3D-printed mount to hold the Pi in place.
- Extend Ports (Optional) – Use USB or HDMI extenders to align ports with the original case holes.
- Install a Cooling System – Attach heatsinks or a small fan for temperature control.
Step 3: Install the Operating System
- Download RetroPie or Batocera – Get the latest version from their official website.
- Write the Image to the MicroSD Card – Use Raspberry Pi Imager or Win32 Disk Imager.
- Insert the MicroSD into the Raspberry Pi – This will be the “hard drive” of your system.
- Boot Up the System – Connect the power and HDMI to check if it works.
Step 4: Configure Controllers and Games
- Connect a USB Keyboard – This is needed for initial setup.
- Pair Controllers – Configure USB or Bluetooth controllers.
- Add Games – Transfer legally owned ROMs via USB or network sharing.
Step 5: Final Touches
✔ Close the console shell and make sure all ports are accessible.
✔ Test different emulators to ensure smooth performance.
✔ Customize themes and shaders for the best retro experience.
Is It Worth It?
✅ Pros:
✔ Authentic retro aesthetic with modern emulation power.
✔ HDMI support and wireless controllers.
✔ Runs multiple retro systems in one device.
❌ Cons:
✖ Requires DIY skills and console disassembly.
✖ Some consoles may not fit the Raspberry Pi easily.
✖ Performance depends on the Raspberry Pi model used.
Overall, installing a Raspberry Pi inside a classic console is one of the best ways to enjoy retrogaming while preserving nostalgic hardware!
Would you try this mod? Let us know in the comments!